Chapter 5.2 - Label new data with Label Studio
Introduction
In this chapter, you will explore the process of using Label Studio to manually annotate images.
The following diagram illustrates the control flow of the experiment at the end of this chapter:
flowchart TB
    extra -->|upload| labelStudioTasks
    labelStudioTasks -->|label| labelStudioAnnotations

    subgraph workspaceGraph[WORKSPACE]
        extra[extra-data/extra]
    end

    subgraph labelStudioGraph[LABEL STUDIO]
        labelStudioTasks[Tasks]
        labelStudioAnnotations[Annotations]
    end

    style workspaceGraph opacity:0.4,color:#7f7f7f80
    style extra opacity:0.4,color:#7f7f7f80
    style labelStudioTasks opacity:0.4,color:#7f7f7f80
linkStyle 0 opacity:0.4,color:#7f7f7f80Steps
Start the Labeling Interface
Make sure Label Studio is running at http://localhost:8080.
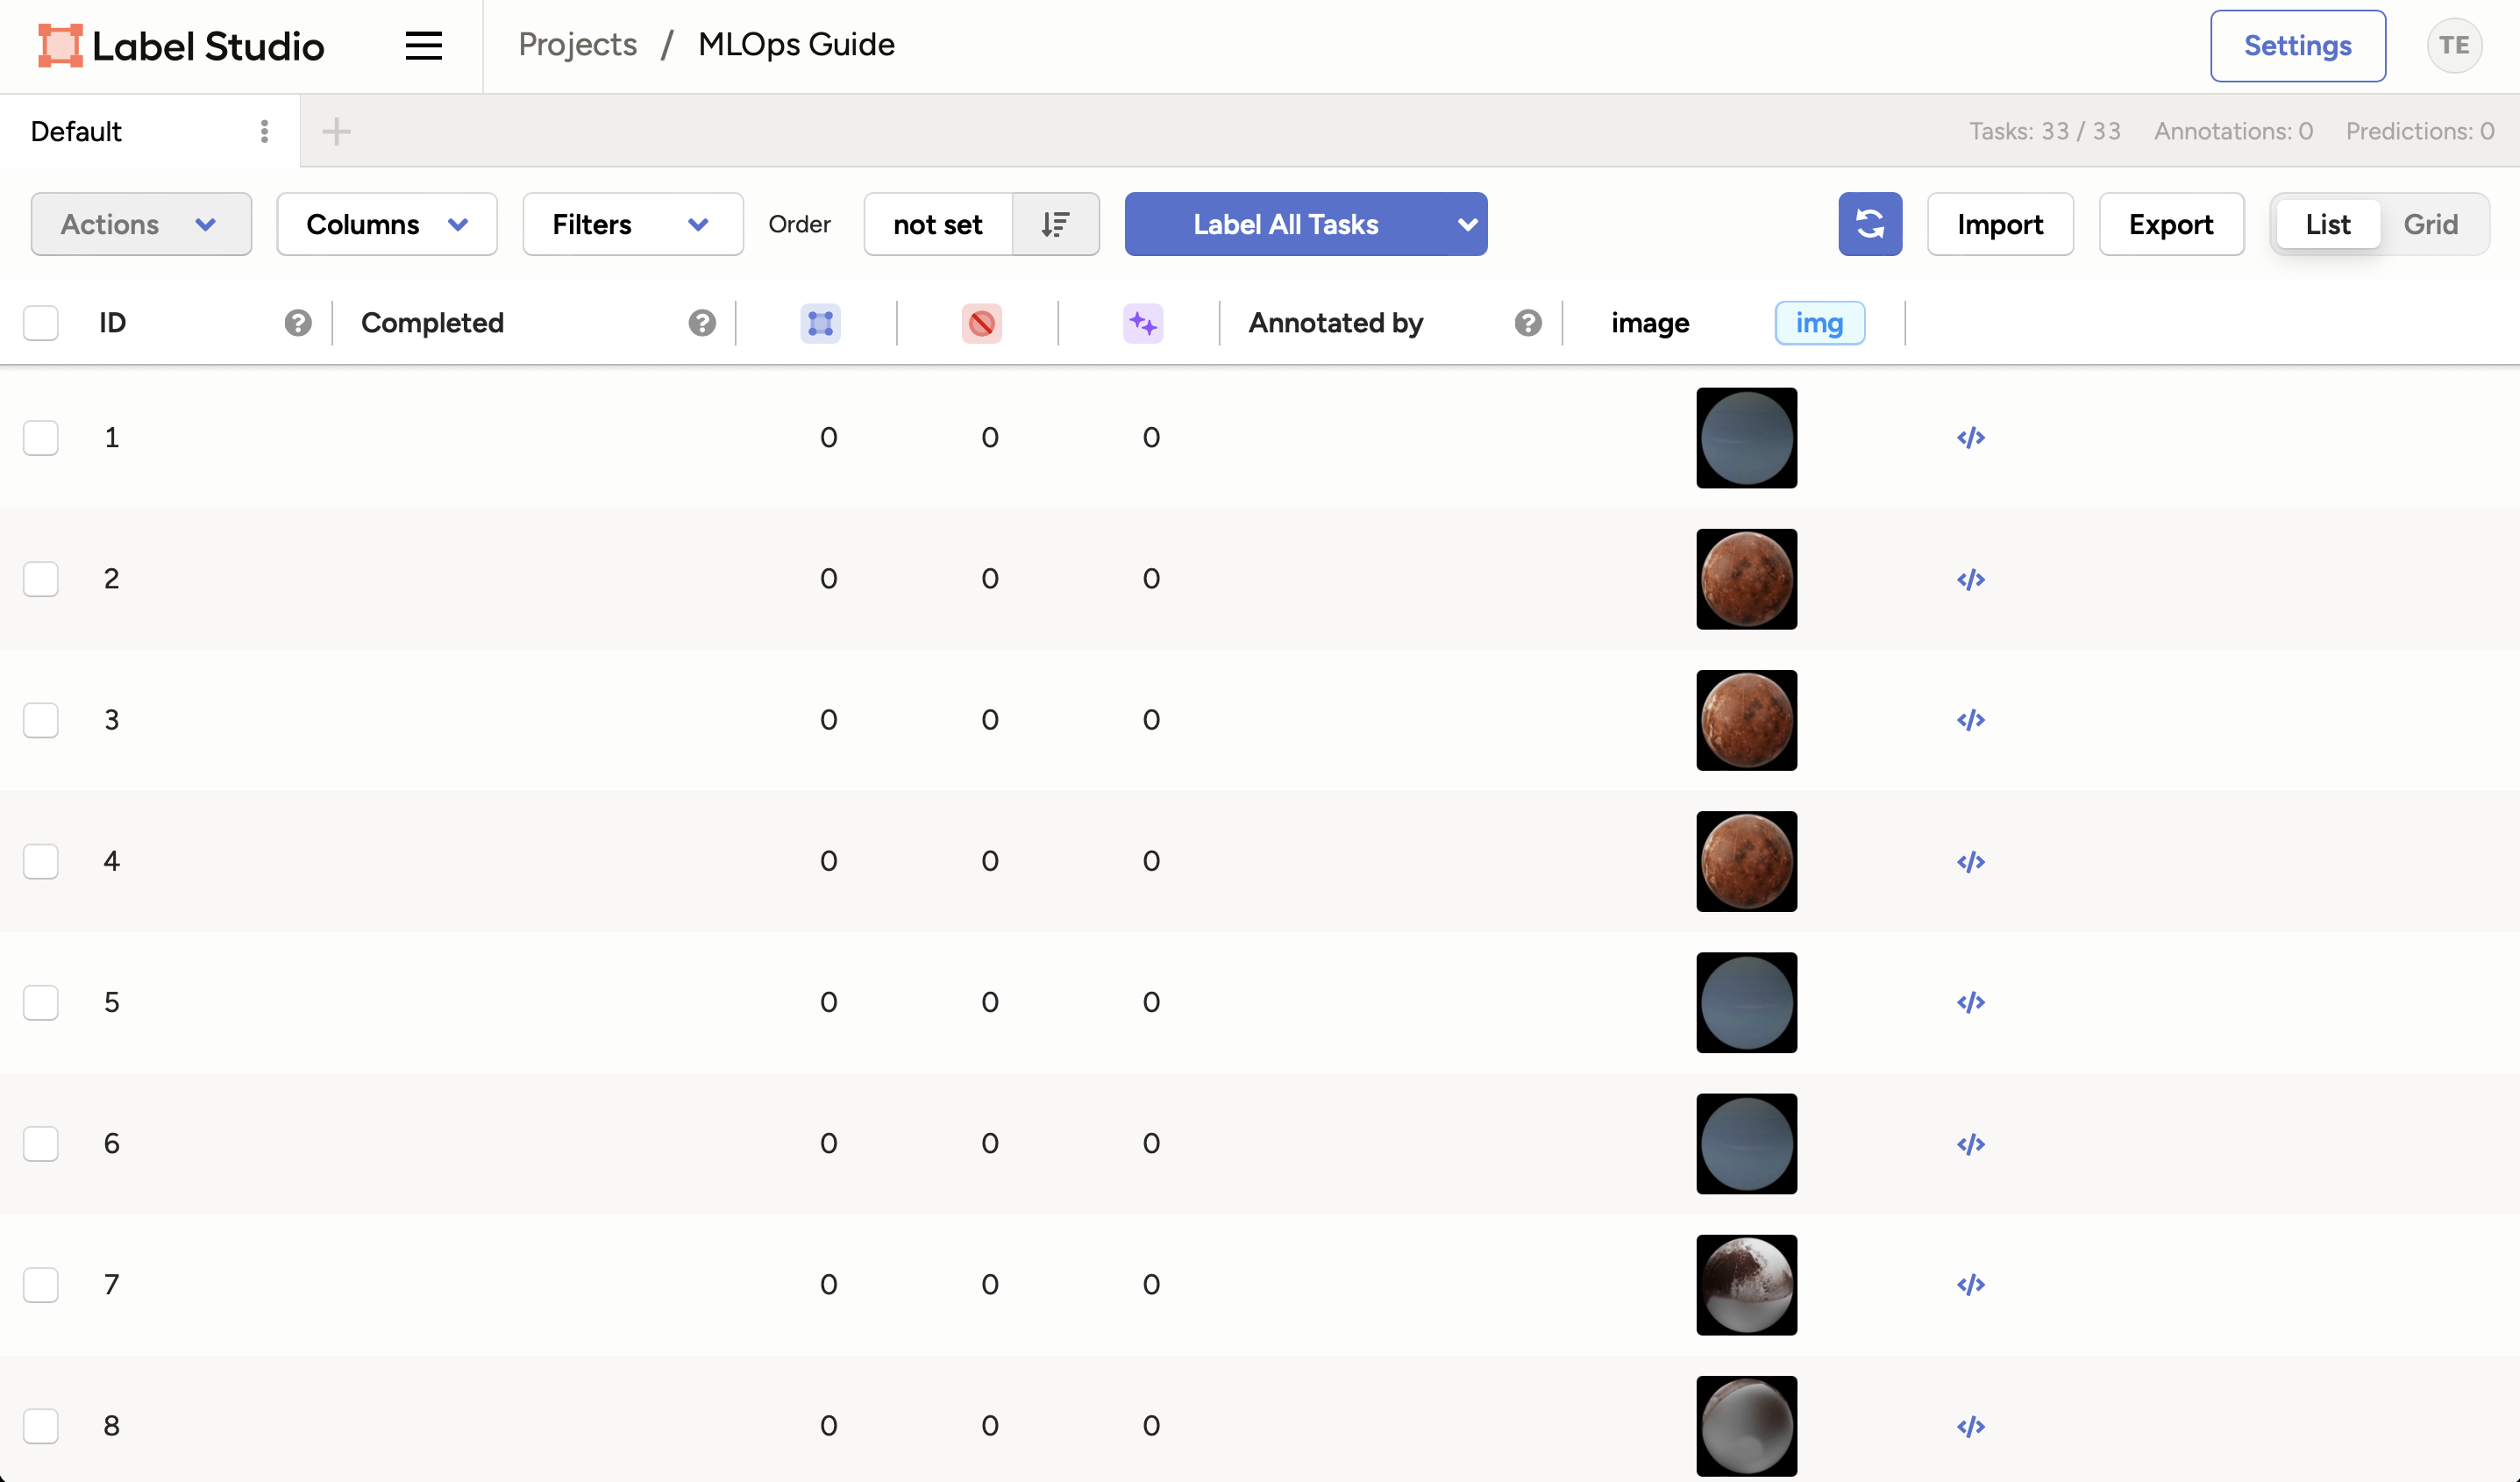
Click on the Label All Tasks button to start labeling the images. The images will be displayed one by one in sequential order.
Label a few images
You will be presented with the image and the choices you defined earlier.
Tip
Next to each label, you will see a number or letter in brackets. This is the keyboard shortcut for the label. You can use this to quickly label the image by pressing the corresponding key on your keyboard.
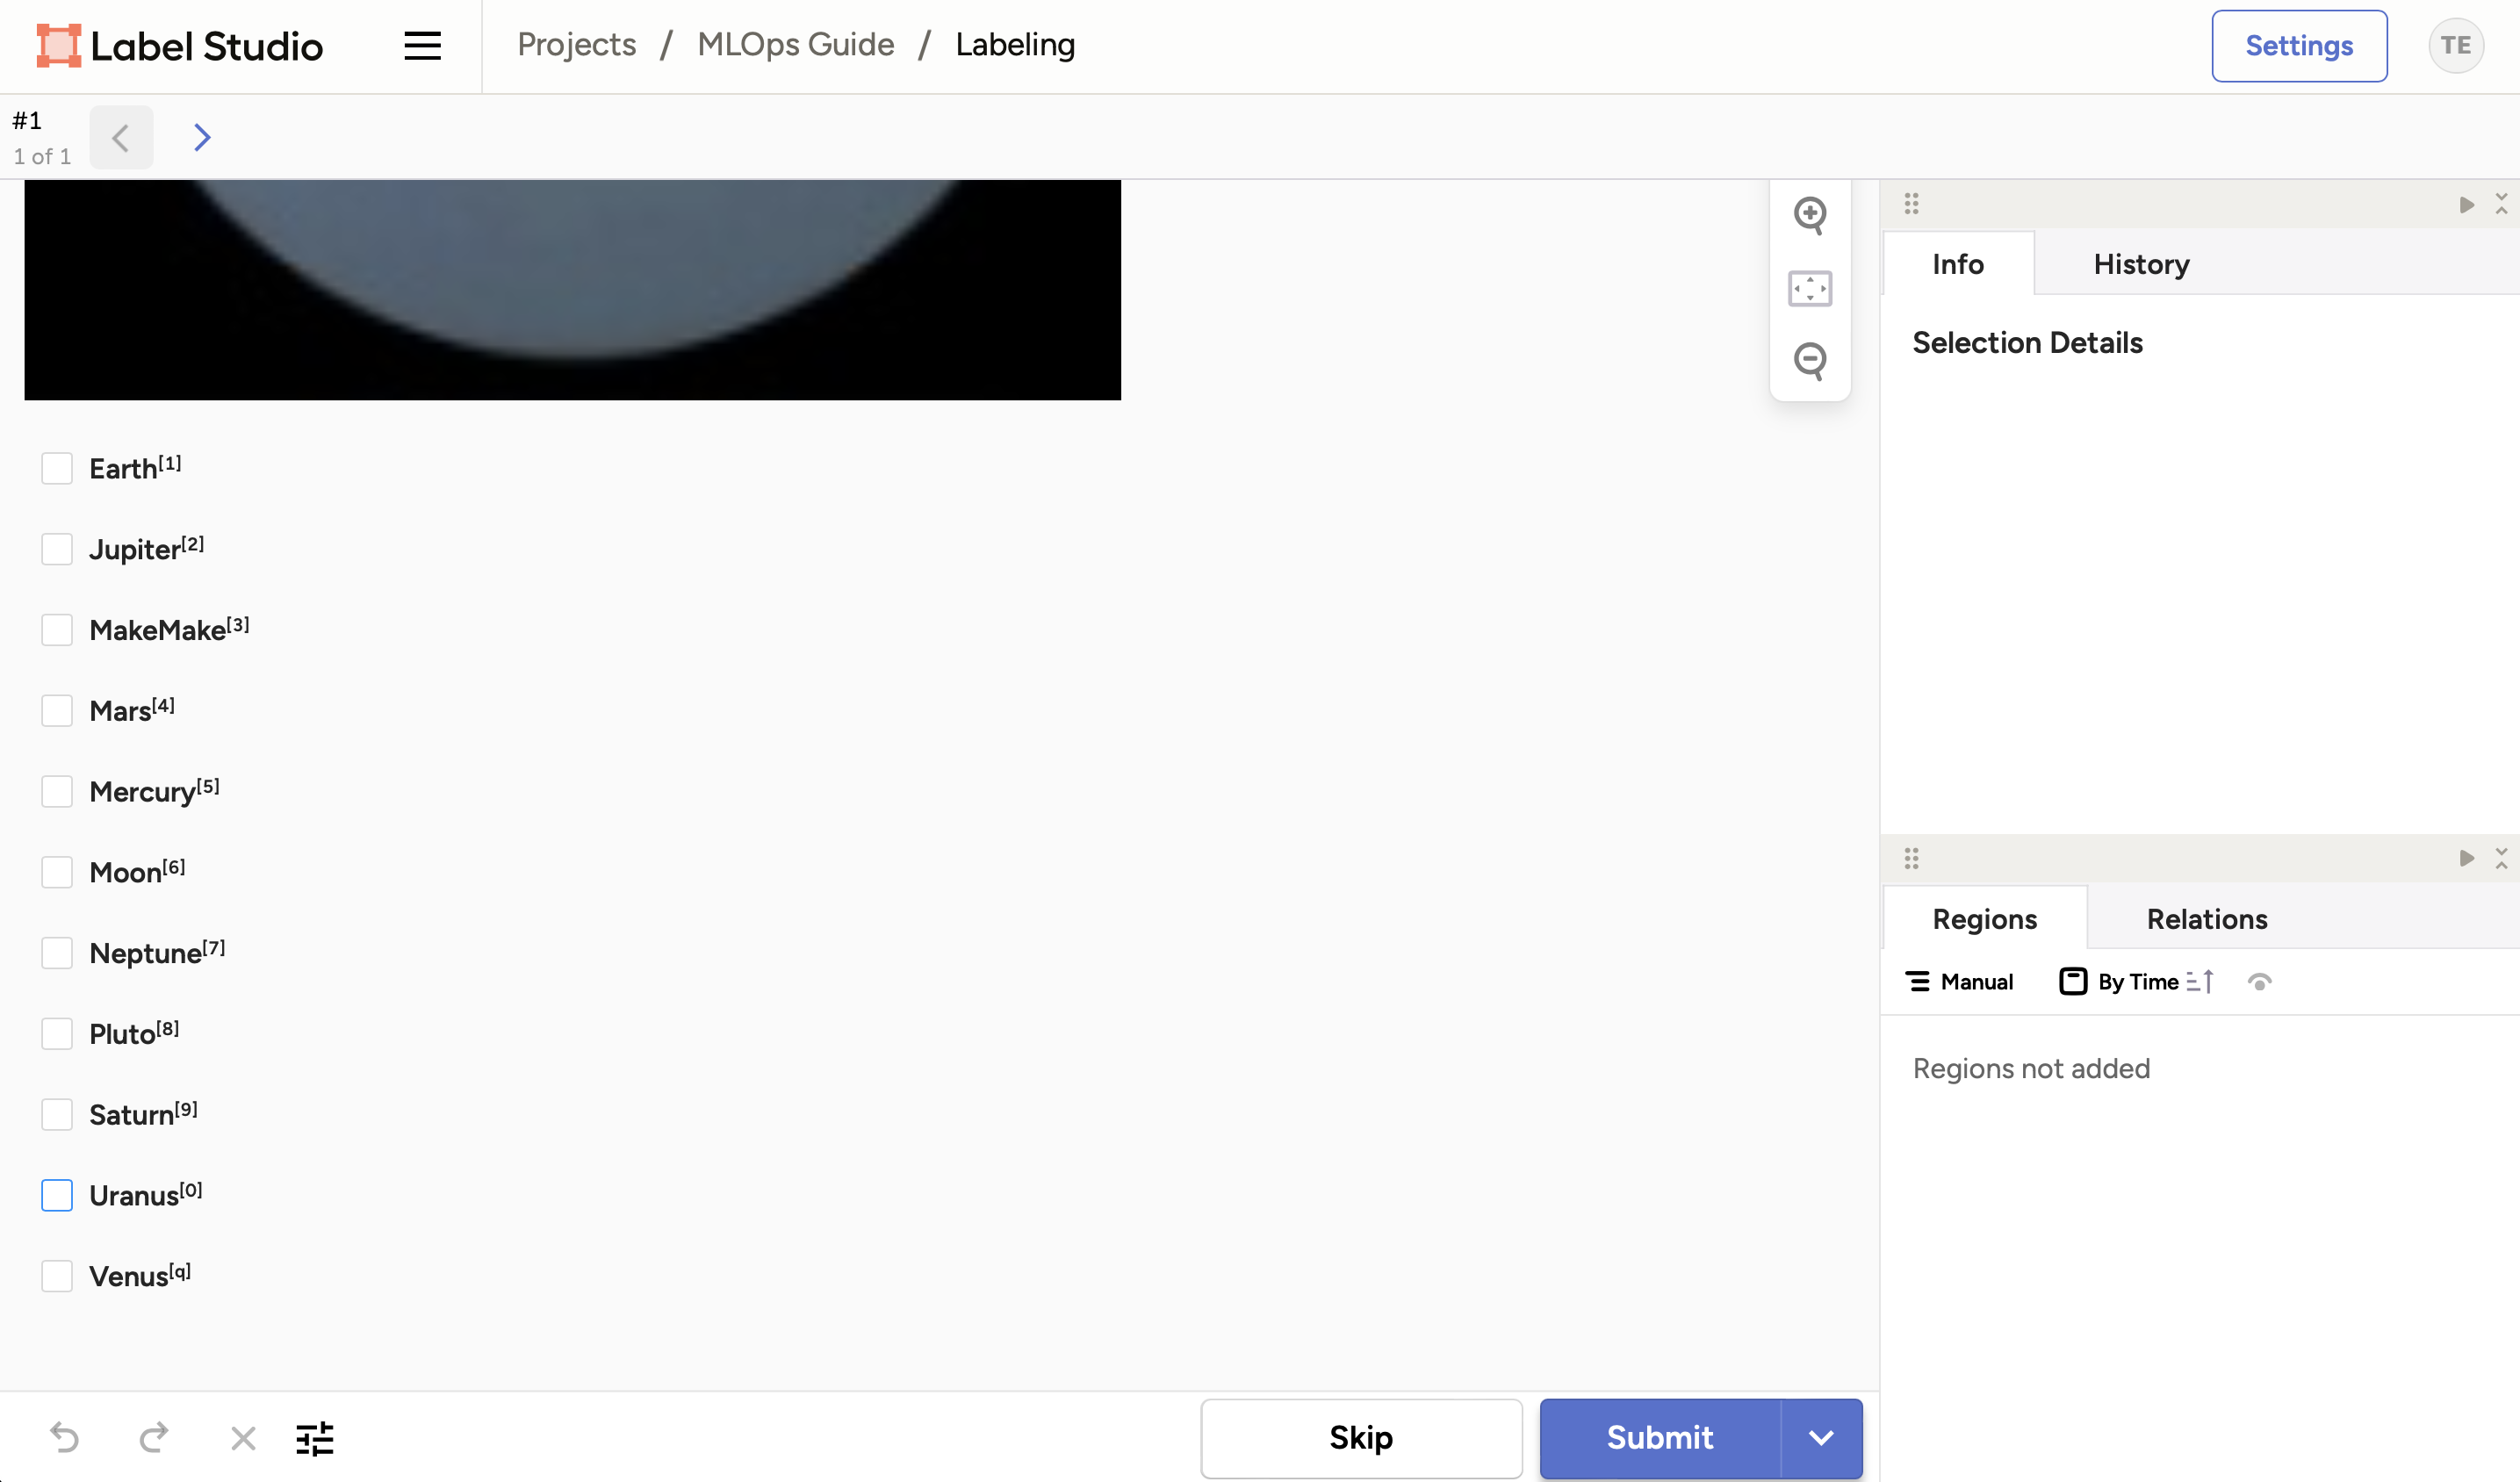
- Select the correct label for the image. In this case, the image is of the planet Earth.
- Click Submit to save the label.
- Repeat these steps for the next images to label a few of them, then stop. Labeling five to ten images is enough.
Warning
Do not label all the images: we need to keep some unlabeled data for the next chapter. You can go back to the project view by clicking on your project name on the top navigation bar.
Track the progress
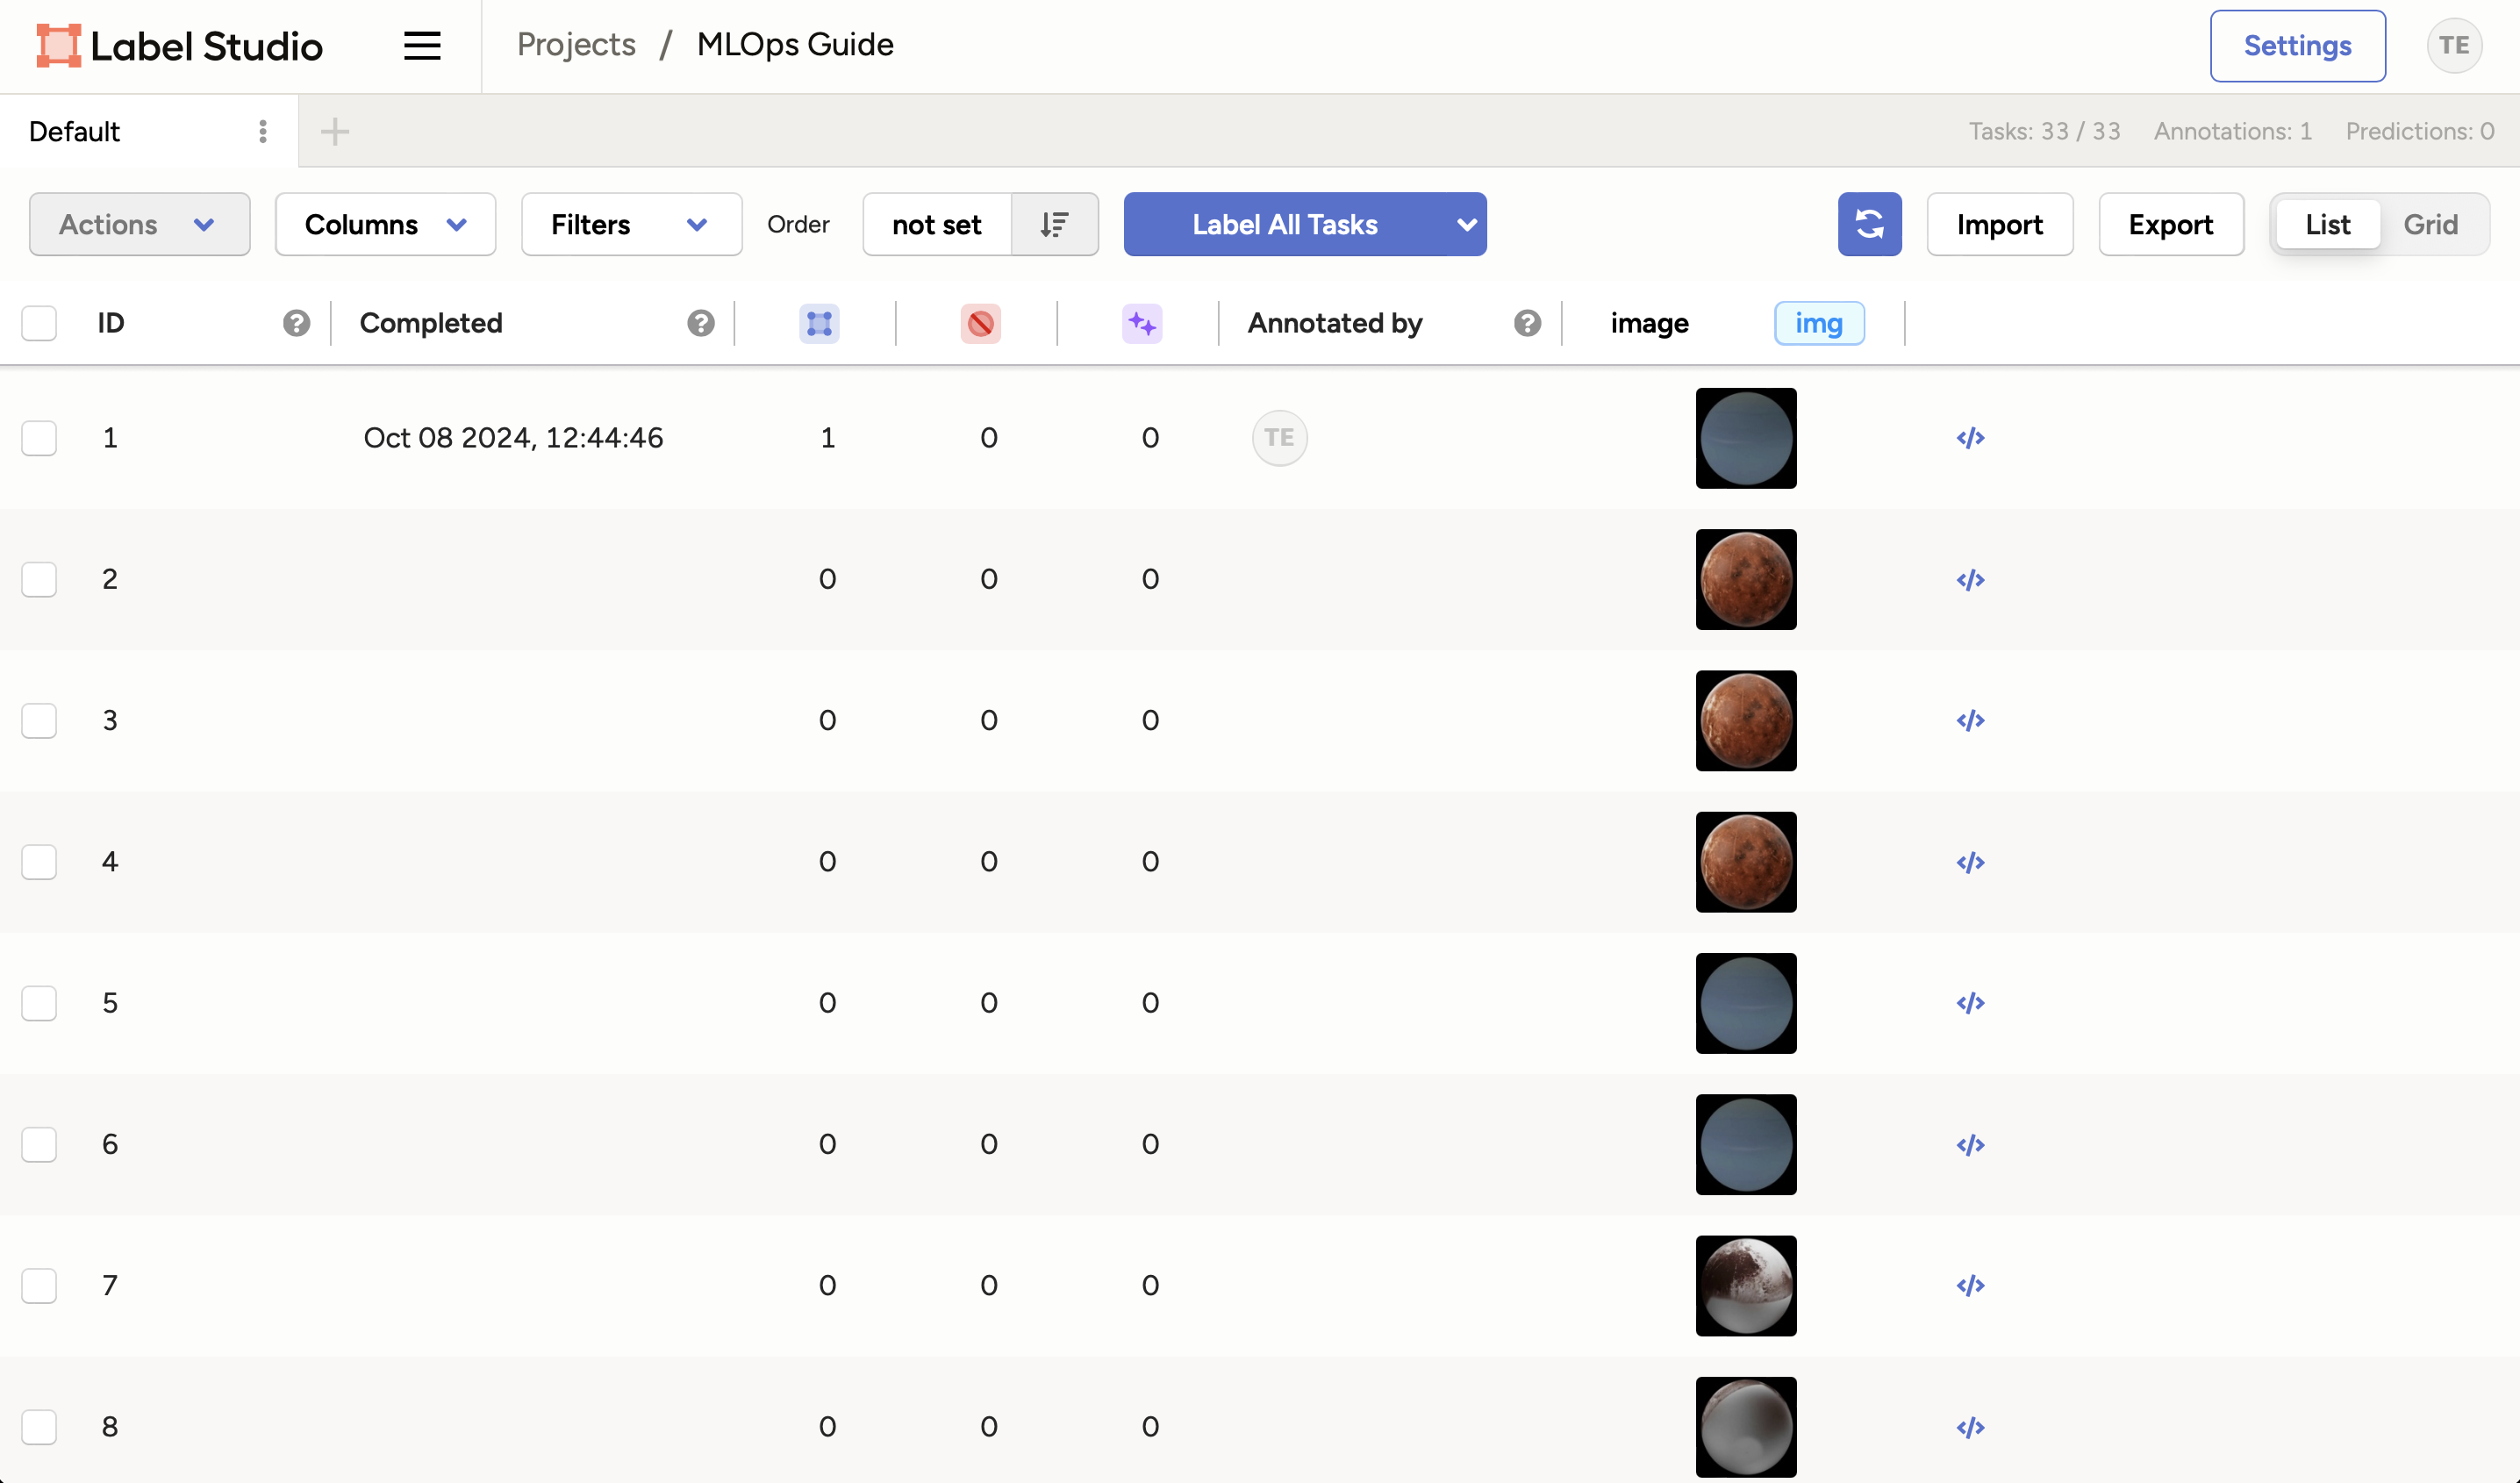
In the project view, you can see the progress of the labeling task.
Info
Label Studio provides a lot of information such as the date and annotation author. This allows having multiple annotations for the same data, which is a must for larger datasets as it helps to reduce bias.
Note that you can also import additional data and export the labels.
Currently, we have labeled a few images but in the next chapter, we will learn how to use the model we trained earlier to label all the images automatically.
Summary
You have labeled new data manually using Label Studio, which ensures the annotation process is not only systematic, but also uniform. The organizational capabilities of Label Studio contribute to creating high-quality labeled datasets.
You fixed some of the previous issues:
- Labeling of supplemental data can be done systematically and uniformly
Take away
- Manual labeling quickly reveals scale challenges: Even with an efficient tool like Label Studio, labeling hundreds or thousands of images manually is time-consuming and error-prone, highlighting the need for strategies like active learning, pre-labeling, or semi-supervised approaches to scale annotation efforts.
- Keyboard shortcuts are essential for labeling efficiency: The difference between clicking each label versus pressing a single key adds up dramatically over thousands of annotations. Optimizing the labeling interface for speed directly impacts project timelines and labeler fatigue.
- Annotation metadata enables quality control: Label Studio's tracking of annotator identity, timestamps, and annotation history creates an audit trail that helps identify inconsistencies, measure inter-annotator agreement, and validate data quality before training.
- Systematic labeling prevents inconsistencies: Using a structured tool with predefined categories and validation rules ensures uniform labeling conventions across the dataset, reducing the noise that can harm model performance when different annotators use different standards.
State of the MLOps process
- Labeling of supplemental data can be done systematically and uniformly
- Labeling of supplemental data is time intensive
- Model needs to be retrained using higher-quality data
Continue to the next chapters to address the remaining items.